Enable
CheckboxOn by default
Enable the AutoFix operation.

Version 1.0

Version 1.0
Dead pixels restored automatically.
AutoFix gives you fast, automatic restoration of dead pixels, and it’s a lot of fun to use. Intelligent, content-aware repair makes light work of a tiresome chore, and flexible tools let you finesse the result and paint in exactly the pixels you need.
| macOS | macOS 14.7 Sonoma or later (macOS 15 Sequoia, macOS 26 Tahoe) |
|---|---|
| FxFactory | 8.0.27 or later |
| Applications | DaVinci Resolve 20 or later, Final Cut Pro 10.6 or later, Motion 5.6 or later, Premiere Pro 22 or later, After Effects 22 or later |
Hawaiki AutoFix is installed and licensed through FxFactory. Install FxFactory, then install the trial of Hawaiki AutoFix from FxFactory’s catalogue or from the download link. The trial watermarks the output until you buy a licence; buying unlocks the installed plug-in.
| DaVinci Resolve | The Effects Library (OpenFX, under Hawaiki). |
|---|---|
| Final Cut Pro | The Effects Browser, in the Hawaiki category. |
| Premiere Pro | The Effects panel, under Video Effects. |
| After Effects | The Effects & Presets panel and the Effect menu. |
| Motion | The Library, under Filters. |
Drag the effect onto your clip to get started. Keep FxFactory up to date: many problems are solved by installing its latest version.
We’re happy to help by email. To get you an answer quickly, please tell us:
Write to support@hawaiki.co. We’re always happy to look at your footage and to hear what you think we could improve. See also the Support page.
Every control of Hawaiki AutoFix, in the order the effect shows them.
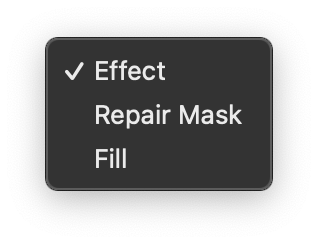
Switch between the final Effect, the Repair Mask view that shows a black and white matte of the area to be repaired or the Fill view that shows the replacement pixels used as fill within the repair mask.
Zoom into the area to be fixed. The HUD is displayed by default.
In FCP and Motion this control is also presented onscreen.

Bypass the Effect.
In FCP and Motion this control is also presented onscreen.
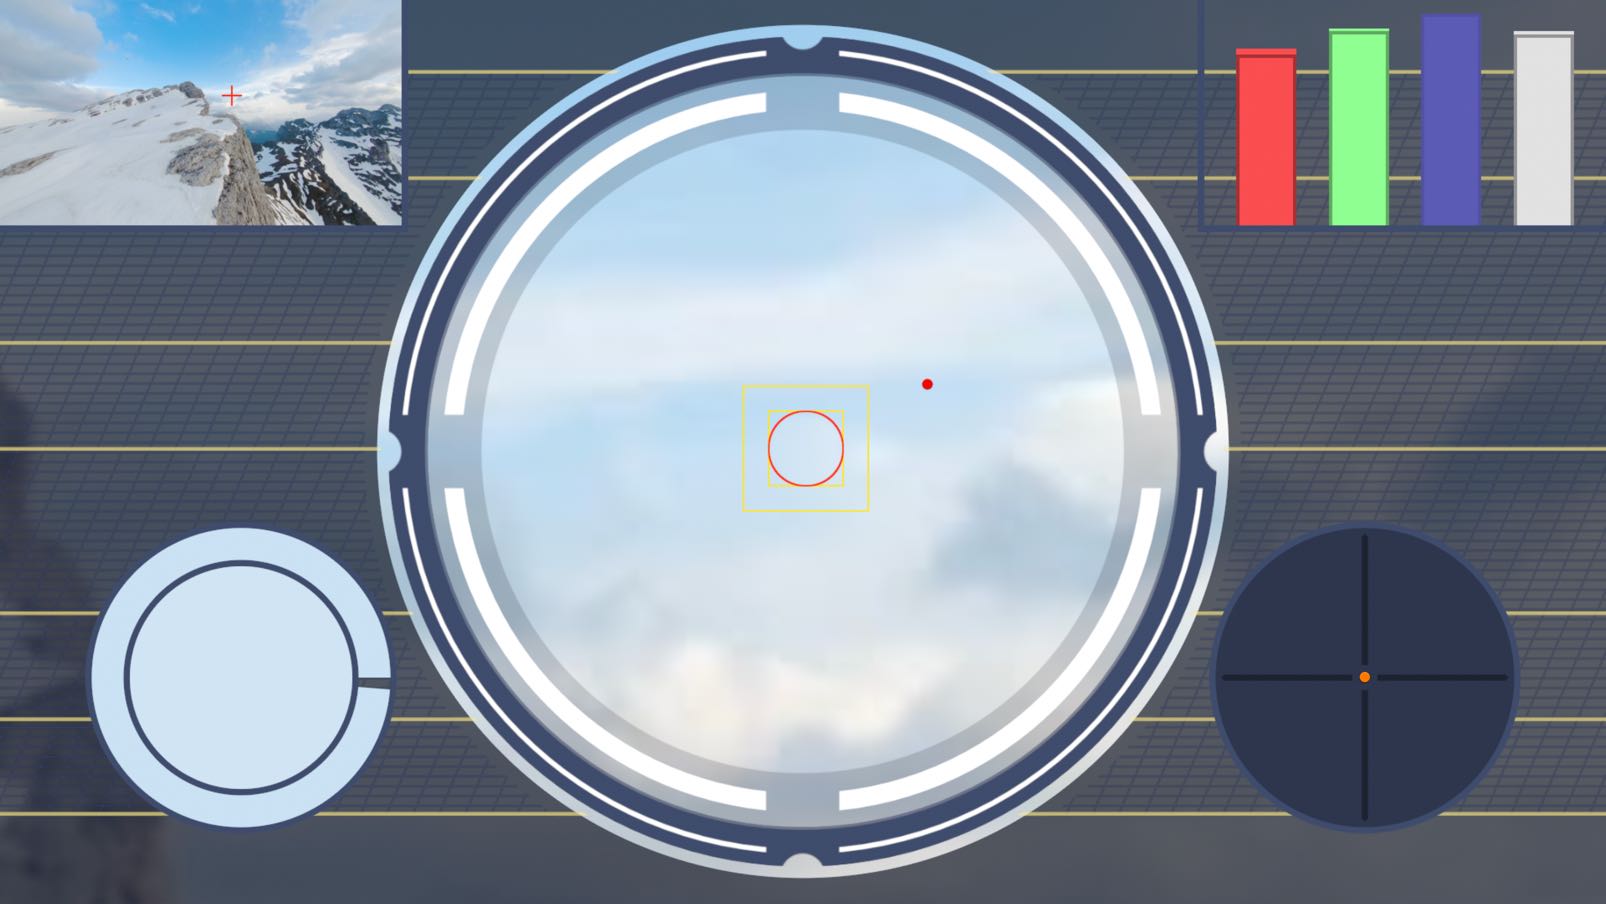
This group contains controls for the onscreen Heads-Up Display of AutoFix. Zoom needs to be enabled for these controls to be available and the HUD visible.
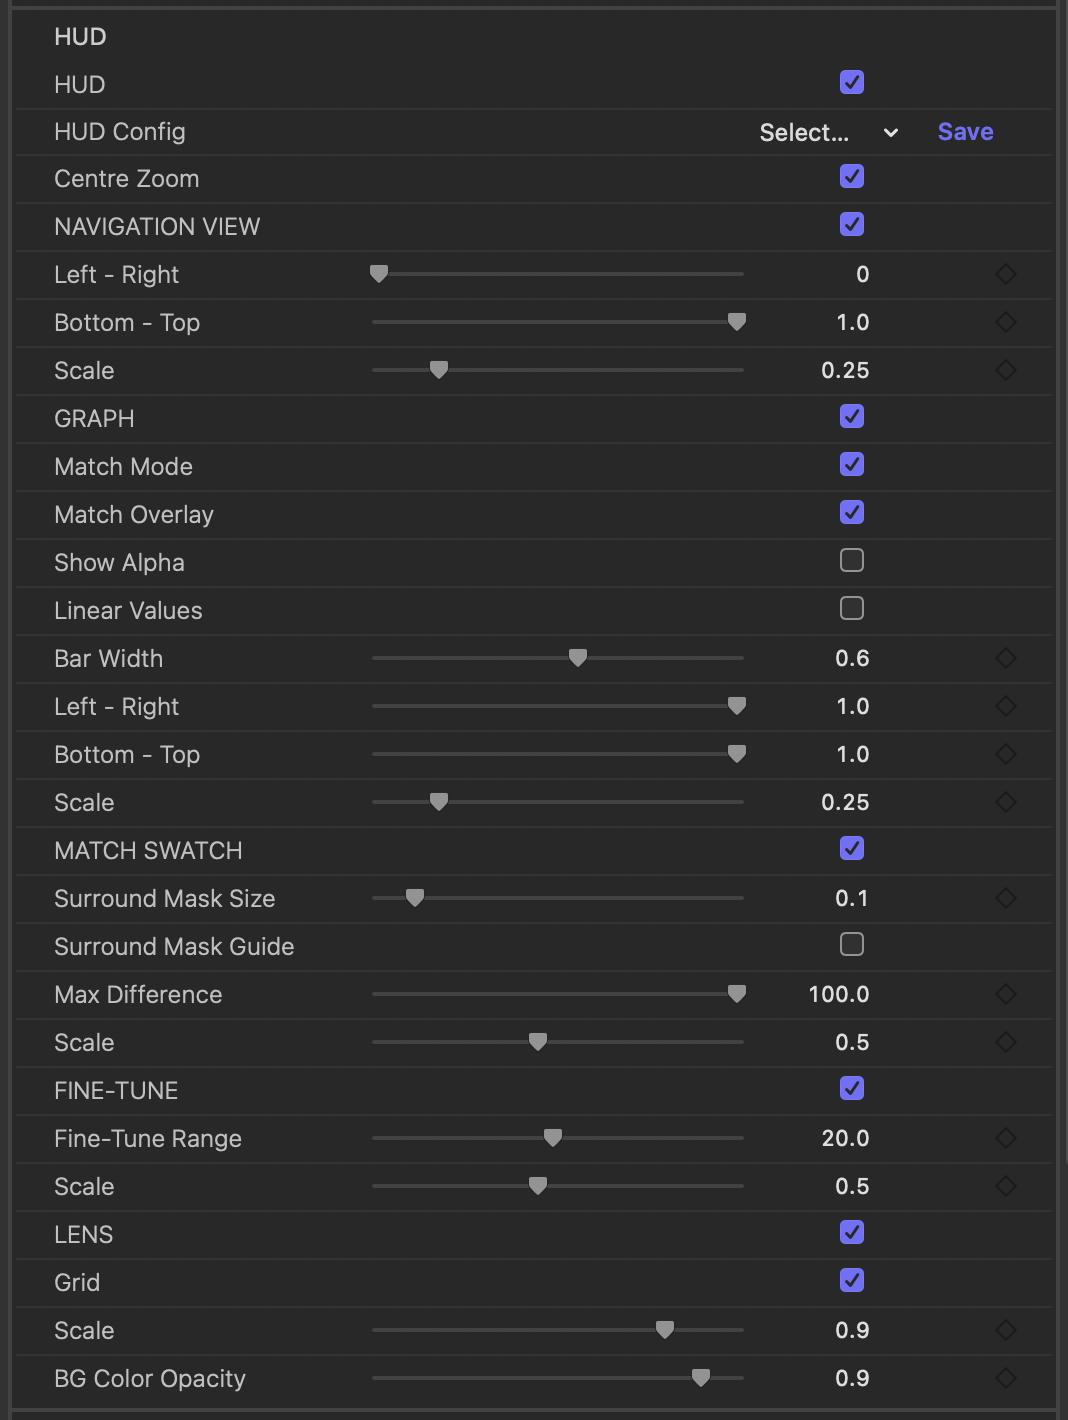
Enable the Heads-Up Display. Zoom needs to be enabled for the HUD to be shown. Individual elements of the HUD: Navigation View, Graph,Match Swatch, Fine-Tune and Lens can be enabled/disabled below.
In FCP and Motion this control is also presented onscreen.
Saves and loads the controls of the HUD group. 2 built-in presets are included. Presets made in one host open in every other. Working with presets
Allows you to save a custom HUD set-up and save it as a preset. Saves the settings for all parameters in the HUD group. There are also built-in presets for vertical and square video.The Match Swatch is a handy tool for finding problem areas where the automatic repair might need some finessing. The inner circle shows the average color of the pixels within the repair mask and the outer ring the color of the pixels that surround the mask - the pixels you want to match. The outer ring also doubles as a color difference meter. When the circle is full the colours are identical.
A perfect match won’t necessarily produce the best result but when the match ring is less than around 80% to 90% you probably need to make and keyframe an adjustment.
NB. RGB and luma values of the Match Swatch colors are shown in the Graph - see above.
Shows the outer extent of the pixels used to generate the color of the outer ring of the Match Swatch as a green outline. The inner extent is defined by the edge of the Repair Mask.
NB. The Surround Mask reflects the size and shape of the Repair Mask scaled up depending on the Surround Mask Size setting.
Adjust the maximum difference used by the Match Swatch to set when the outer match ring is at 0%. Decreasing this value will increase the sensitivity of the Match Swatch so that the difference between pixels inside and outside the repair mask will produce greater changes in the percentage of the match ring that is displayed.
Match Swatch uses Delta E (CIE 2000) under the hood and it is the maximum Delta E value that is being set with this slider.
Adjust the mask used to define the area to be repaired. The Mask Guide updates to reflect changes you make in this group as does the Repair Mask view (an option in the View menu).
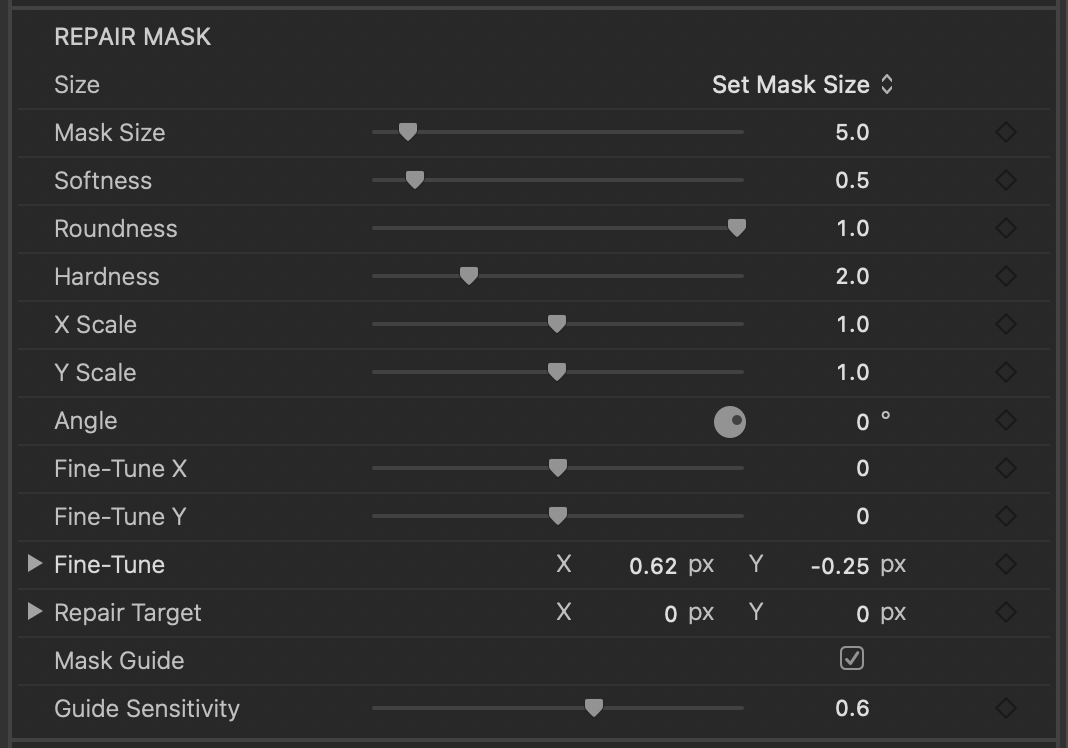
Displays the extent of the Repair Mask as a red outline guide.
In FCP and Motion this control is also presented onscreen.
Select and adjust the pixels used to replace the problem area defined by the Repair Mask.
Along with the controls in this group you can control the directional bias of the pixels used for replacement in the Sampling group below.
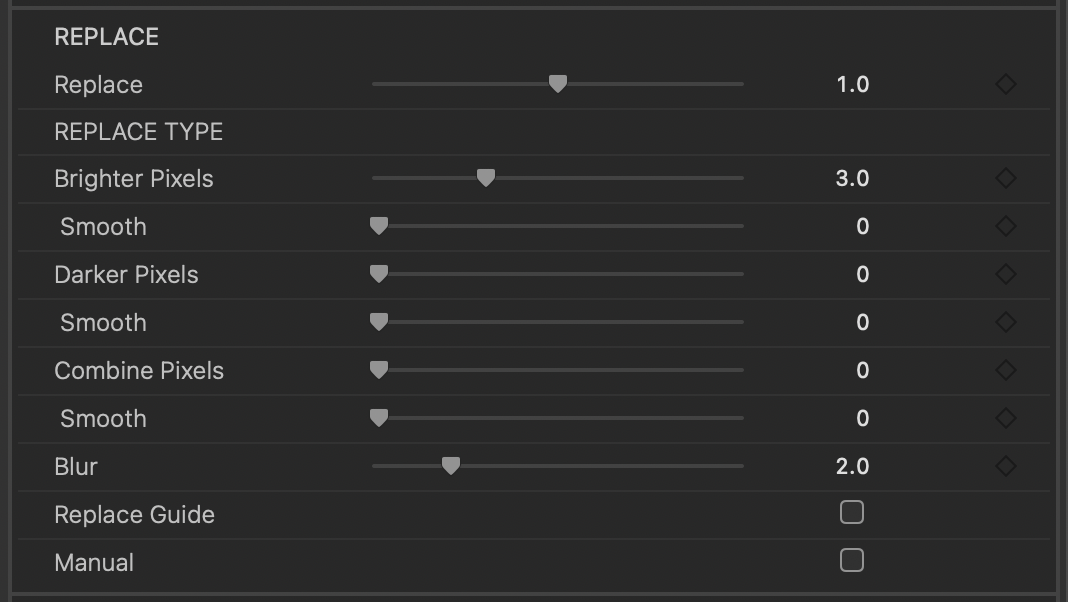
Adjust the pixels used for Replacement. The outer rectangle of the Replace Guide will update. This slider scales all the sliders in the Replace Type section: Brighter Pixels, Brighter Pixels - Smooth, Darker Pixels, Darker Pixels- Smooth, Combine Pixels, Combine Pixels - Smooth.
Moving the Replace slider to zero will bypass the auto correction.
Use brighter pixels from the surrounding area to replace the problem pixels. Increasing the slider value will select pixels further away from the edge of the Repair Mask - shown by the outer rectangle of the Replace Guide.
The extent of this operation can be shown by selecting Brighter in the Replace Guide - Type menu within the HUD group.
Brighter Pixels - Smooth: Use the brightest pixel from the surrounding area. Increasing the slider value will include pixels further away from the edge of the Repair Mask. Unlike the standard slider which uses the pixels on the edge of the Sample Guide this slider compares all the pixels within the sample guide and returns the brightest. This will tend to produce smoother results which may work better depending on the shot.
The extent of this operation can be shown by selecting Brighter - Smooth in the Replace Guide - Type menu within the HUD group.
Use darker pixels from the surrounding area to replace the problem pixels. Increasing the slider value will select pixels further away from the edge of the Repair Mask - shown by the outer rectangle of the Replace Guide.
The extent of this operation can be shown by selecting Darker in the Replace Guide - Type menu within the HUD group.
Darker Pixels - Smooth: Use the darkest pixel from the surrounding area. Increasing the slider value will include pixels further away from the edge of the Repair Mask. Unlike the standard slider which uses the pixels on the edge of the Sample Guide this slider compares all the pixels within the sample guide and returns the darkest. This will tend to produce smoother results which may work better depending on the shot.
The extent of this operation can be shown by selecting Darker - Smooth in the Replace Guide - Type menu within the HUD group.
Combines pixels from the surrounding area with the problem pixels. Increasing the slider value will select pixels further away from the edge of the Repair Mask - shown by the outer rectangle of the Replace Guide.
The extent of this operation can be shown by selecting Combine in the Replace Guide - Type menu within the HUD group.
Combine Pixels - Smooth: Combines pixels from the surrounding area with the problem pixels. Increasing the slider value will include pixels further away from the edge of the Repair Mask. Unlike the standard slider which uses the pixels on the edge of the Sample Guide this slider combines all the pixels within the sample guide with the pixels to be repaired. This will tend to produce smoother results which may work better depending on the shot.
The extent of this operation can be shown by selecting Combine - Smooth in the Replace Guide - Type menu within the HUD group.
Enable to show a yellow outline guide of the pixels being used to fill the repair area. The inner rectangle mirrors the repair mask and the outer rectangle shows the extent of the pixels used for replacement. The outer rectangle updates to reflect changes in the Replace sliders.
In FCP and Motion this control is also presented onscreen.
Choose the Replace Type that is used to set extent of the outer rectangle of the Replace Guide.
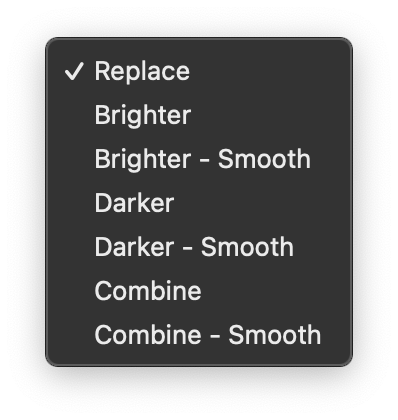
Enable to make manual adjustments to the replacement pixels including offset,scale and rotation as well as color controls.
If you are wanting to use the manual controls to clone an area disable the auto correction by taking the Replace slider to zero and zero the blur slider as well.
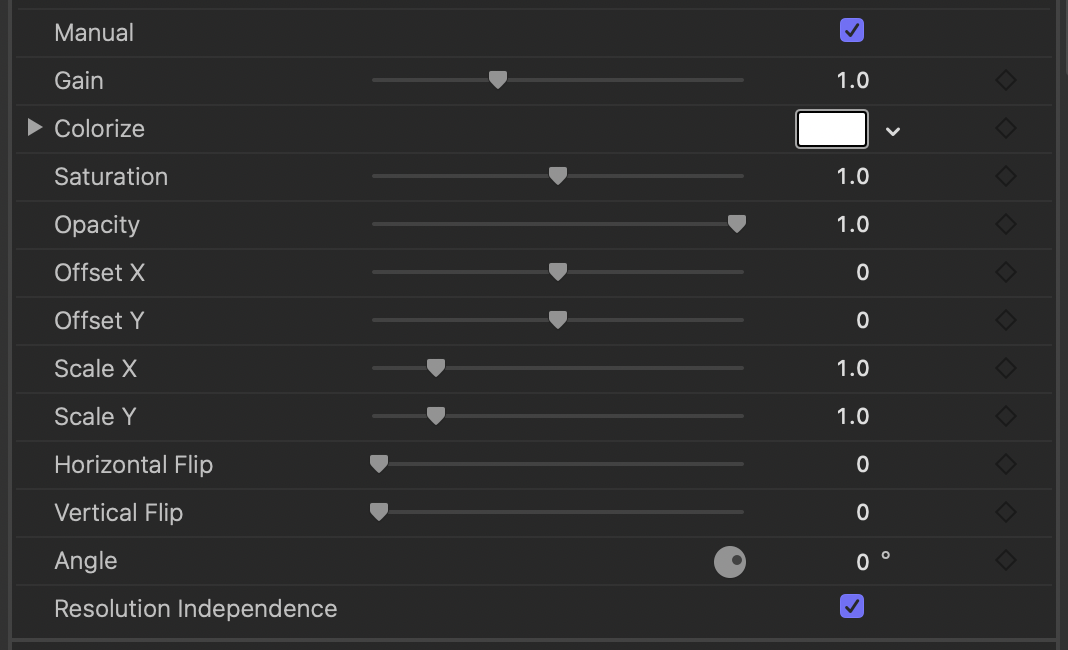
Horizontally flip the pixels used to replace the problem area.
This control is provided as a slider (that can be set to 0 or 1) rather than a checkbox so that it can be keyframed.
Vertically flip the pixels used to replace the problem area.
This control is provided as a slider (that can be set to 0 or 1) rather than a checkbox so that it can be keyframed.
Change the extent of the pixels set by the Replace and Replace Type sliders depending on the frame size.
Disable to use absolute pixel values at all frame sizes.
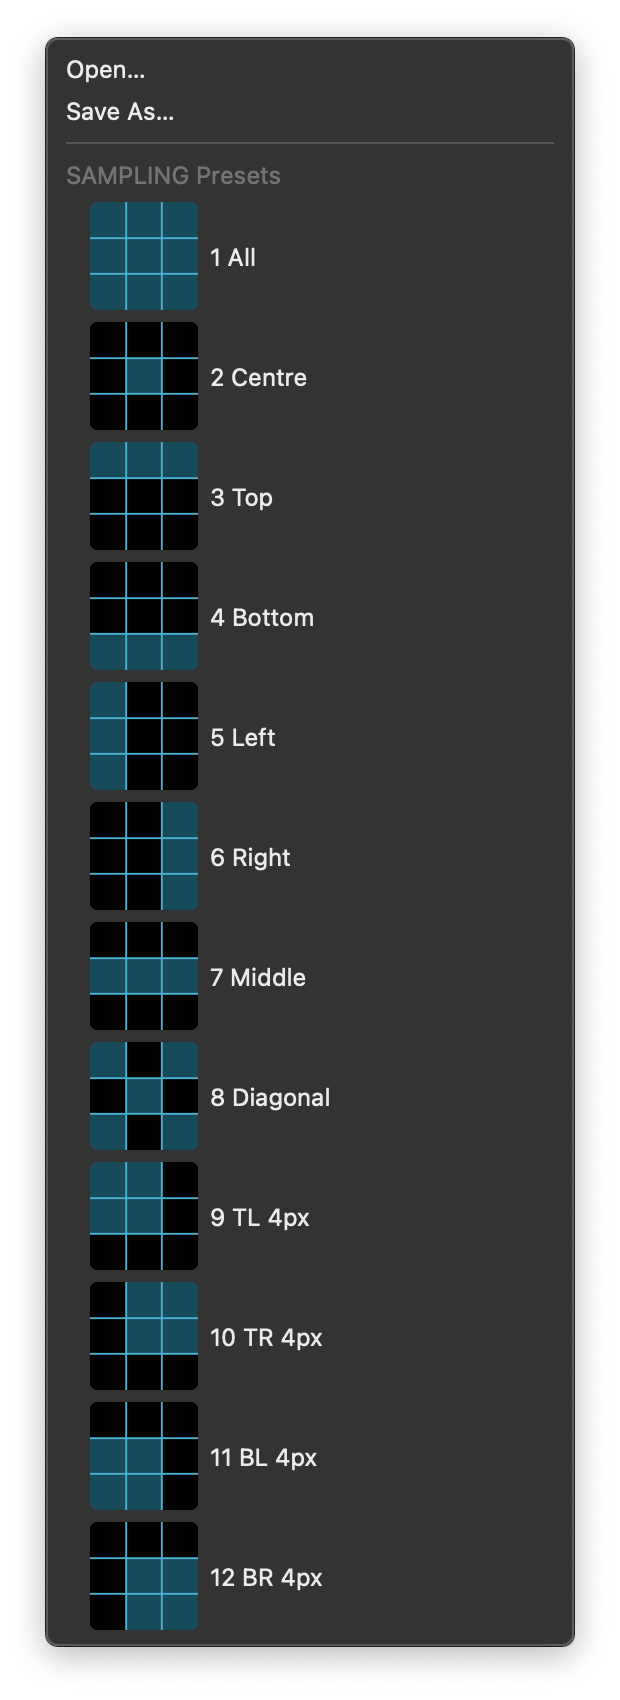
Adjust the directional bias of the pixels used for replacement. Use to exclude pixels you don’t want to use to replace the problem pixels. For example to exclude one side of an edge between dark and light pixels. Select one of the built-in presets or refine the area sampled with the sliders.
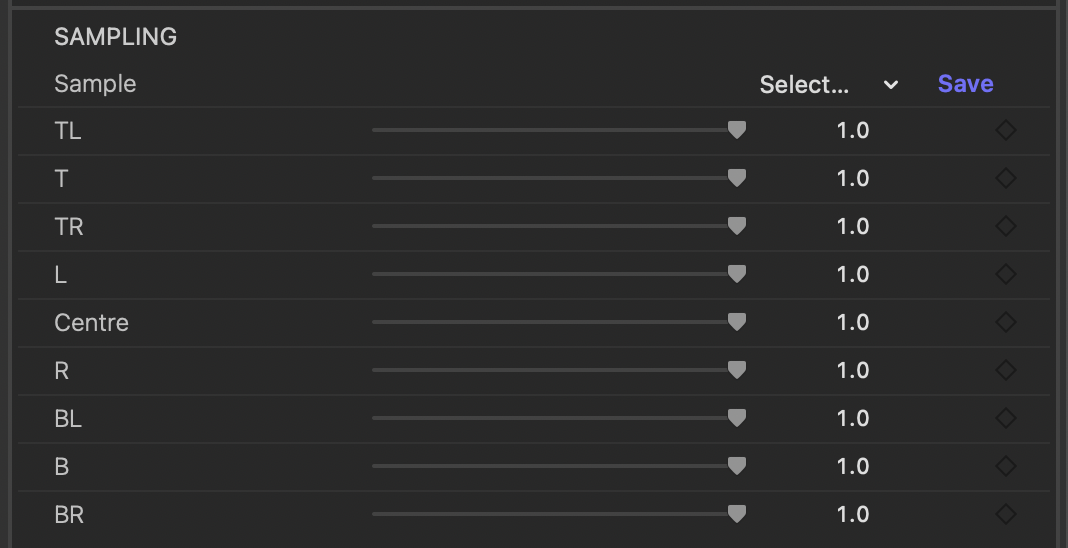
Saves and loads the controls of the SAMPLING group. 12 built-in presets are included. Presets made in one host open in every other. Working with presets
Use one of the built-in sample presets or save your own for later use after adjusting the sliders in the Sampling group.
In FCP and Motion this control is also presented onscreen.
Saves and loads a snapshot of every control. Presets made in one host open in every other. Working with presets
Point parameters represent 2D locations within the frame. Each point has X and Y coordinates. While it is possible to change the X and Y coordinates via the inspector, it is far easier to interact with point parameters directly on-screen. Each video application provides a slightly different way to do this. This document describes the various techniques to adjust the location of a point parameter on-screen.
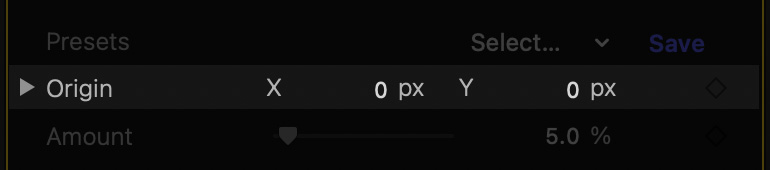
Final Cut Pro allows you to change the X and Y coordinates of a point through the inspector. You can either click over a coordinate and drag up or down, or click and release to enter a value through the keyboard.
It is far easier to configure point parameters on-screen. Your first step is to make sure the clip is selected, and the playhead is positioned somewhere within its in/out points:
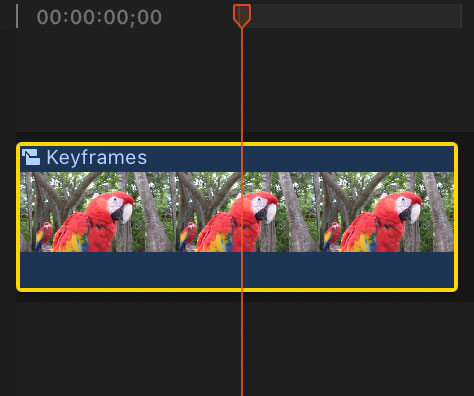
The above is enough to display on-screen controls for Generators, Titles and Transitions. When working with Effects applied to a clip, an extra step is required. Since multiple effects may be applied to the same clip, make sure the effect you wish to configure is selected in the parameter inspector:
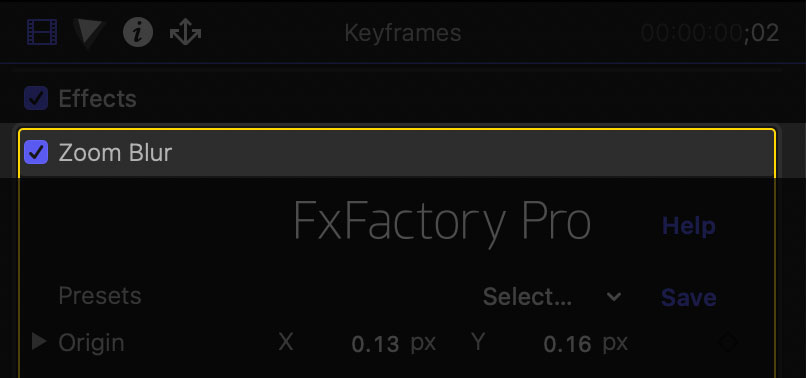
Effects are also known in video applications as filters. Contrary to Generators and Transitions, multiple filters can be applied to the same clip, in a stack.
Upon completing the above steps, an on-screen control becomes available for each point parameter you can adjust:
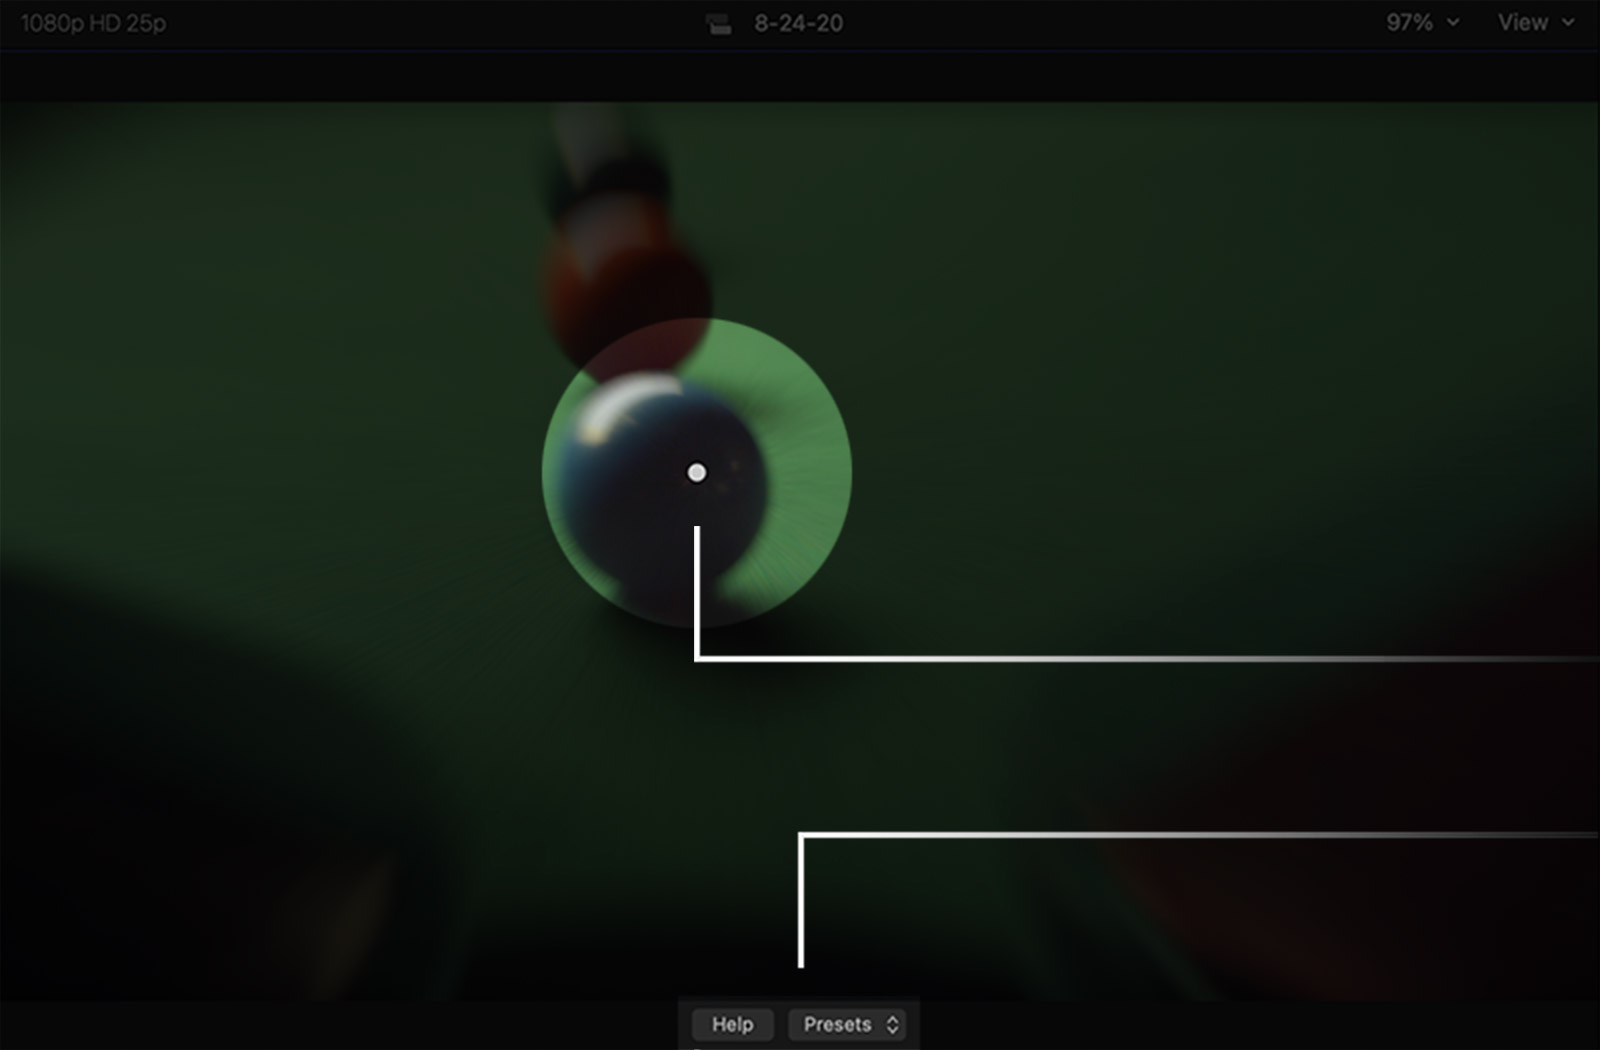
Click and drag the on-screen control to the desired location in the frame.
Please note that the size and color of the on-screen control may vary from one effect to the next. In some cases, a point may only be moved within a certain region of the frame, or it may only be moved along a given axis.
Tip:Hold down the Shift key to constrain movement to the horizontal or vertical axis. Hold down the Command ⌘ key to make smaller, more precise adjustments to the X and Y coordinates. Hold down the Option ⌥ key and click on the control to reset its location to the default X and Y coordinates.
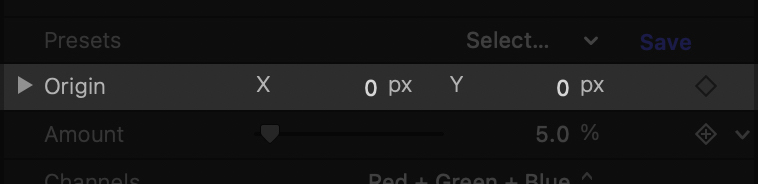
Motion allows you to change the X and Y coordinates of a point through the inspector. You can either click over a coordinate and drag up or down, or click and release to enter a value through the keyboard.
It is far easier to configure point parameters on-screen. Your first step is to make sure that the correct item on your timeline is selected.
When working with Filters, make sure its layer is selected:
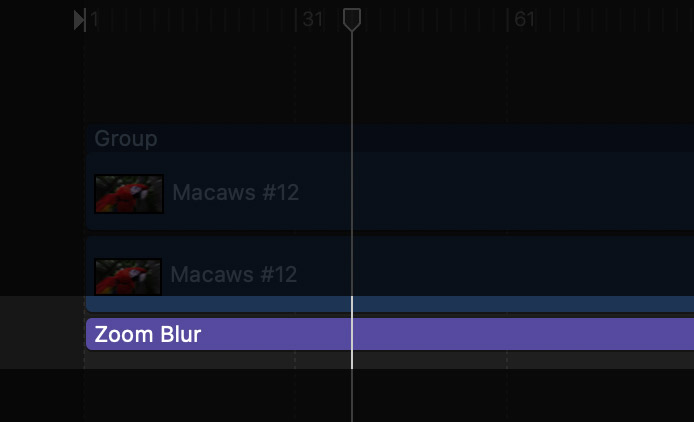
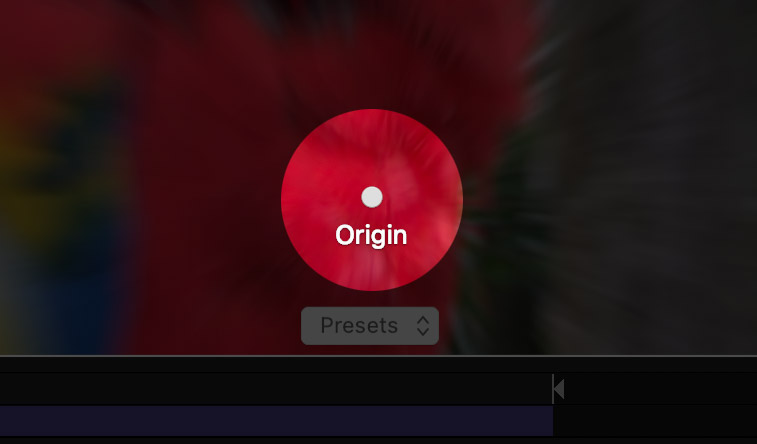
When the filter layer is selected, any custom on-screen controls for that plug-in are displayed in the Canvas. This includes point parameters:
When working with a Generator, make sure its clip is selected in the timeline:
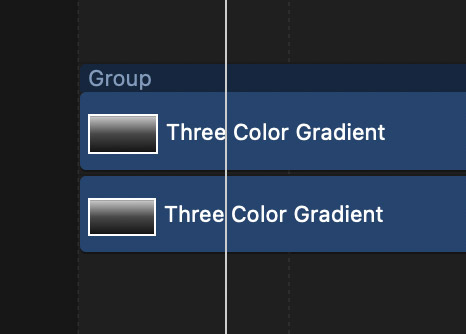
By default, Motion does not display custom on-screen controls for Generators, even when they are selected in the timeline. Your next step is to right-click on the Generator’s output in the Canvas to and select the Control command from the contextual menu:
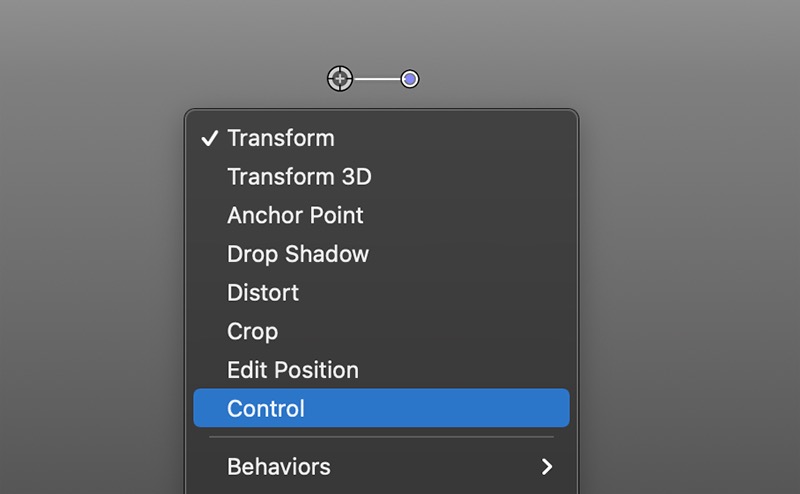
Upon selecting the Control option, any point parameters are displayed on-screen along with any other custom on-screen controls associated with the plug-in.
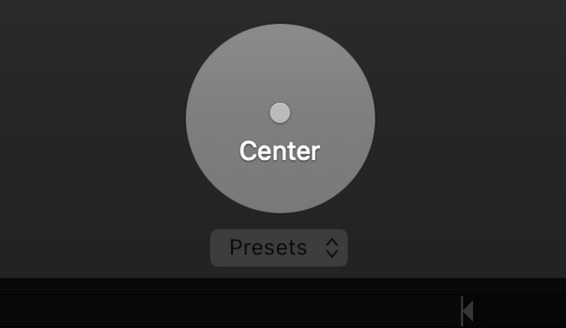
Click and drag the on-screen control to the desired location in the frame.
Please note that the size and color of the on-screen control may vary from one effect to the next. In some cases, a point may only be moved within a certain region of the frame, or it may only be moved along a given axis.
Tip:Hold down the Shift key to constrain movement to the horizontal or vertical axis. Hold down the Command ⌘ key to make smaller, more precise adjustments to the X and Y coordinates. Hold down the Option ⌥ key and click on the control to reset its location to the default X and Y coordinates.
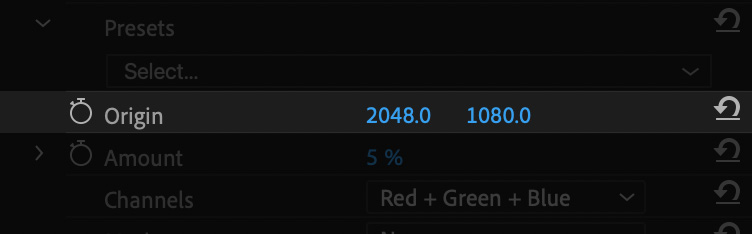
Premiere Pro allows you to change the X and Y coordinates of a point through the Effect Controls panel. You can either click over a coordinate and drag left or right, or click and release to enter a value through the keyboard.
It is far easier to configure point parameters on-screen. Your first step is to make sure the clip is selected, and the playhead is positioned somewhere within its in/out points:
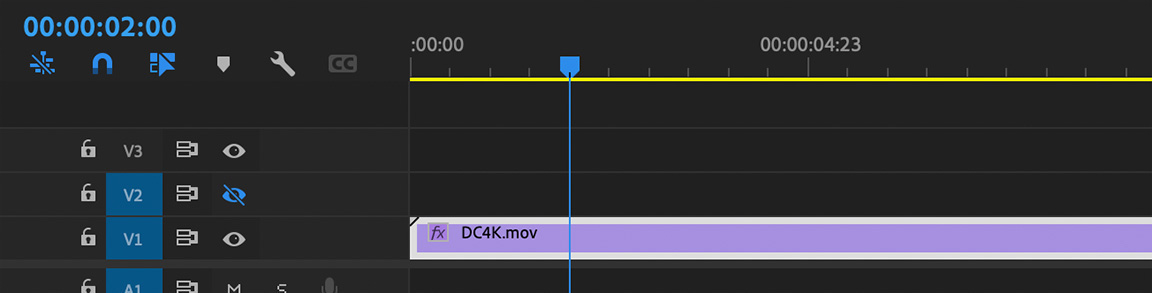
Since multiple plug-ins may be applied to the same clip, make sure the effect you wish to configure is selected in the Effect Controls panel. Click the effect title to highlight it:
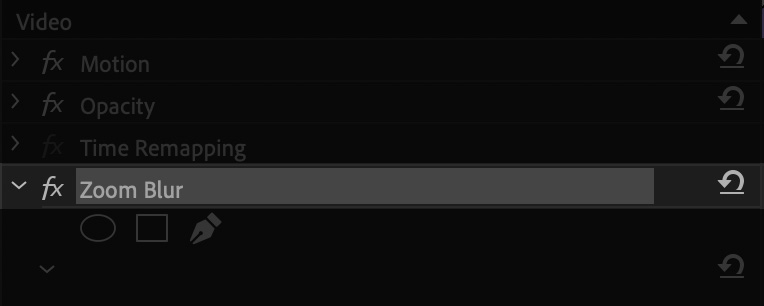
When the effect title is highlighed, Premiere Pro displays on-screen controls for every point parameter you can configure:
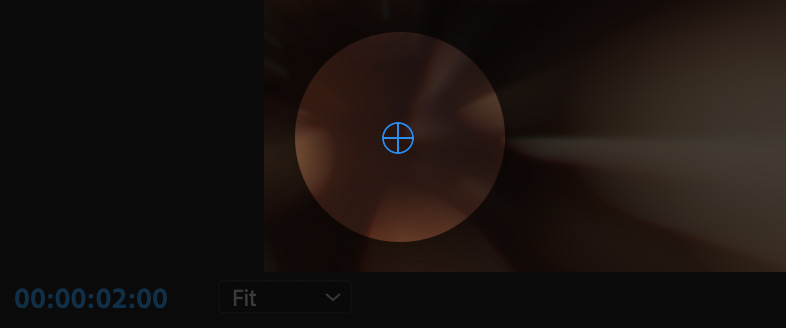
Click and drag the on-screen control to the desired location in the frame.
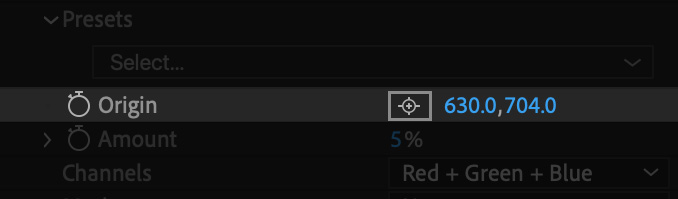
After Effects allows you to change the X and Y coordinates of a point through the Effect Controls panel. You can either click over a coordinate and drag left or right, or click and release to enter a value through the keyboard.
A far easier way to assign new coordinates to the point parameter is to click the button to the left of the coordinates:

Immediately after clicking that button, move your mouse over to the preview panel and click anywhere in the frame to assign that position:
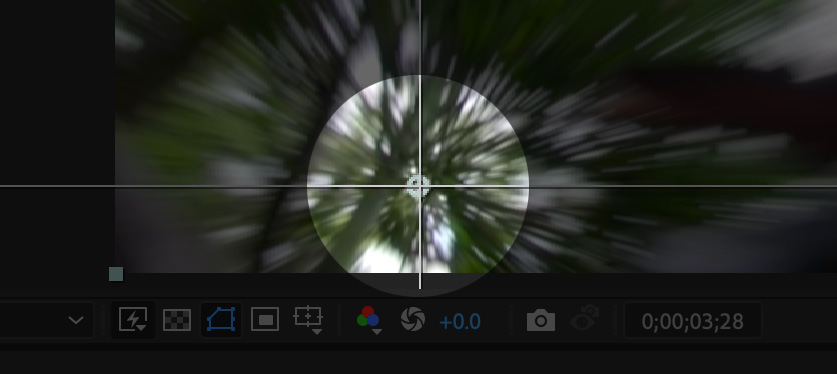
It is also possible to display and configure all point parameters for the effect at once. Make sure the effect you wish to configure is selected in the Effect Controls panel. Click the effect title to highlight it
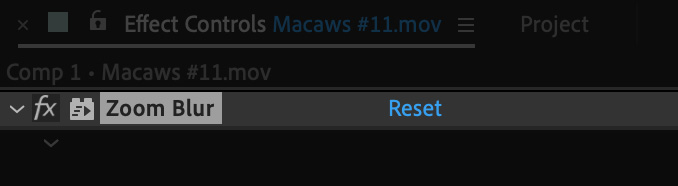
When the effect title is highlighed, After Effects displays on-screen controls for every point parameter you can configure:
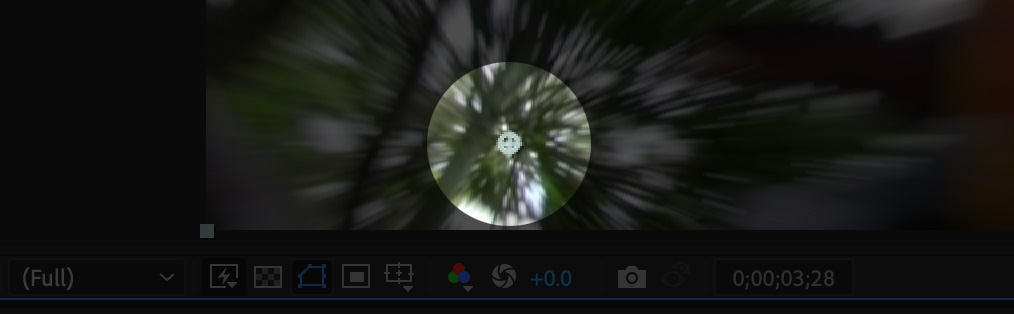
Click and drag the on-screen control to the desired location in the frame.
Presets are designed to make the following tasks easier for you:
Most plug-ins offer only one parameter to work with presets in the inspector. The features you can access through the inspector vary from one effect to the next. This document describes the basic functionality of a presets parameter and its popup menu.
If the plug-in includes factory-made presets, they are easily accessible under the popup menu:
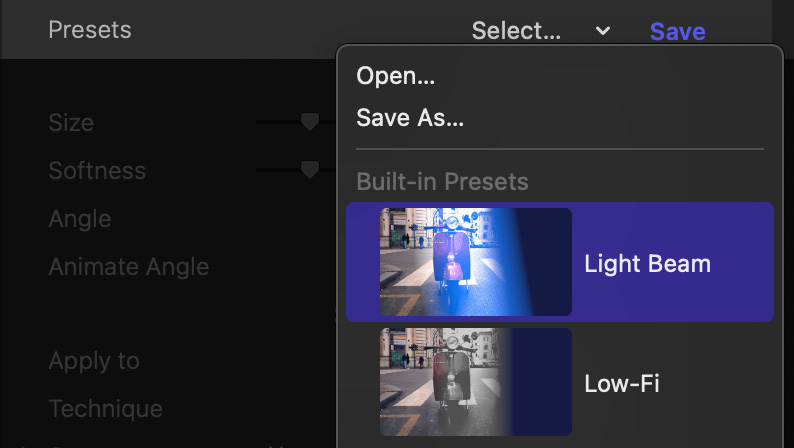
Built-in presets may sport a thumbnail preview to make their effect more obvious. Select a preset to apply it.
The fastest way to save current effect configuration to a file is to click the Save button that appears in the inspector, to the right of the popup menu:

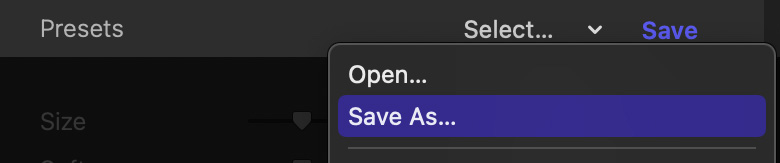
You can also save a preset by selecting the Save As… command under the presets menu:
To load a preset file, select the Open… command under the presets popup menu:
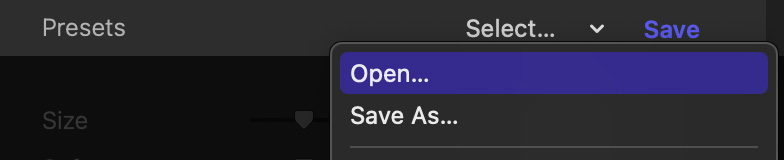
Select a preset created by the same plug-in.
Please note that some plugins offer presets in more than one location in the parameter inspector. A plugin may limit your ability to save or load preset files to the topmost parameter only. When plug-ins follow this approach, the corresponding button and menu commands may be missing.
Details on Preset File Compatibility
If the preset file was created by the same version of the plug-in, you can load the preset from any video applications the plug-in is available in.
For example: you can create a preset in Final Cut Pro and load it from the same plug-in in Premiere Pro.
In most cases, you can also load preset files created by previous versions of the plug-in. If a new version of the plug-in introduces significant changes to its effect configuration, you may notice that older preset files may no longer be accessible.
When you first ask the plug-in to save a new preset file, the location on disk will default to a special Presets folder located under your Home:
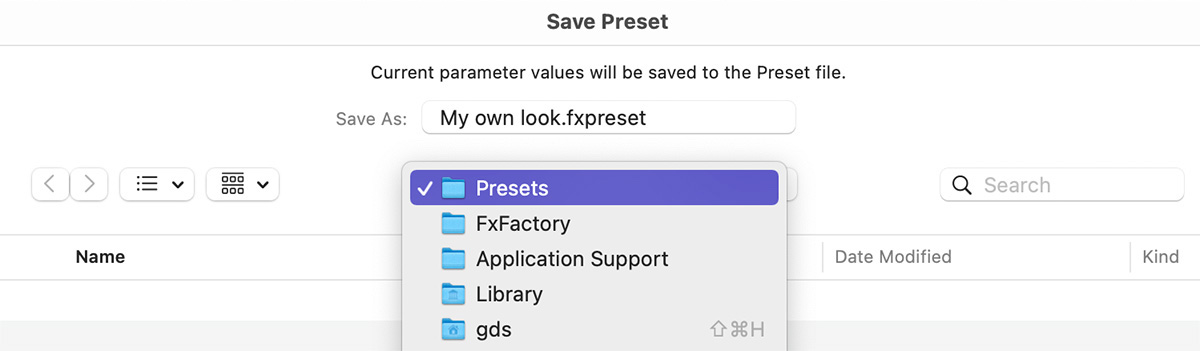
If you allow the preset file to be saved at that location, it will automatically appear under the presets popup menu, for quick access:
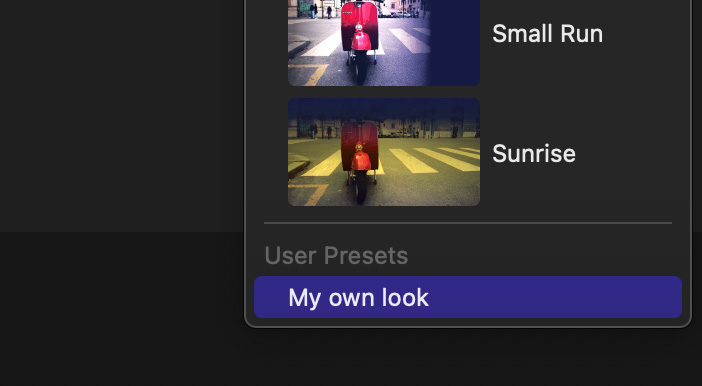
The above demonstrates the advantage of saving your own preset files at this pre-defined location:
Home → Library → Application Support → FxFactory → PresetsAny presets located in that folder will automatically show up under the presets menu. This is not a requirement, since presets can be saved anywhere on disk and shared with other users or systems simply by copying the file.